A Truly Modern Muzzleloader Because sometimes I feel the need to be "that guy"
Here in Pennsylvania, there are 2 deer hunting seasons specifically for muzzleloading rifles. The 1st is in October. This season allows
any muzzleloader with any ignition, and allows the use of magnified optics. The 2nd season starts right after Christmas and runs
until the early part of January. Only flint lock muzzleloaders with iron sights may be used during this
season. It is for this reason that my first muzzleloader was a flint lock; I could hunt both seasons with 1 gun.
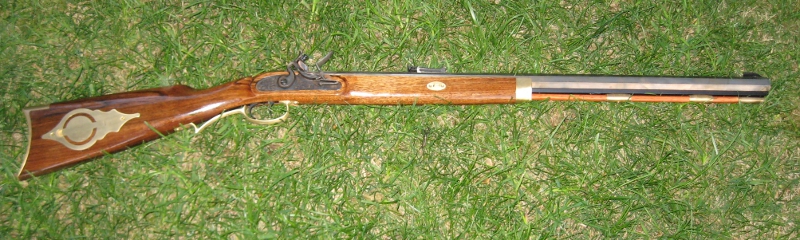
"So where is the problem?" you may ask. Well, the ergonomics of such a rifle are not that great. It has a 29" long beefy 15/16" octagonal
barrel. I don't have a sling for this rifle, so I spend half of the time trying to find a comfortable way to carry it. Don't get me
wrong; I like this rifle. It's just not very comfortable to hump around the deer woods all day.
When walking around with a rifle, I prefer to carry it in a "low ready" position; ready to quickly shoulder, aim, and fire at a deer. I have
a pistol grip stock on my Mossberg 500 and that makes it very comfortable to carry when walking around the woods. That got me thinking about
how to build a muzzleloader with a pistol grip. I started thinking about the different design possibilities
(under hammer, conventional hammer, in-line) and how I could implement each with a pistol grip. I kept coming back to an AR trigger
group as the easiest to implement. Parts are inexpensive and plentiful, and it's an easy design to build around. Then it hit me -
just build the thing as an AR upper!!
I have been tossing around the idea of getting an in-line for the past few years and determined that to get into a good inline, I would be
north of $400. I did some quick math and figured that I could build this contraption for about the same price and get EXACTLY what I
wanted.
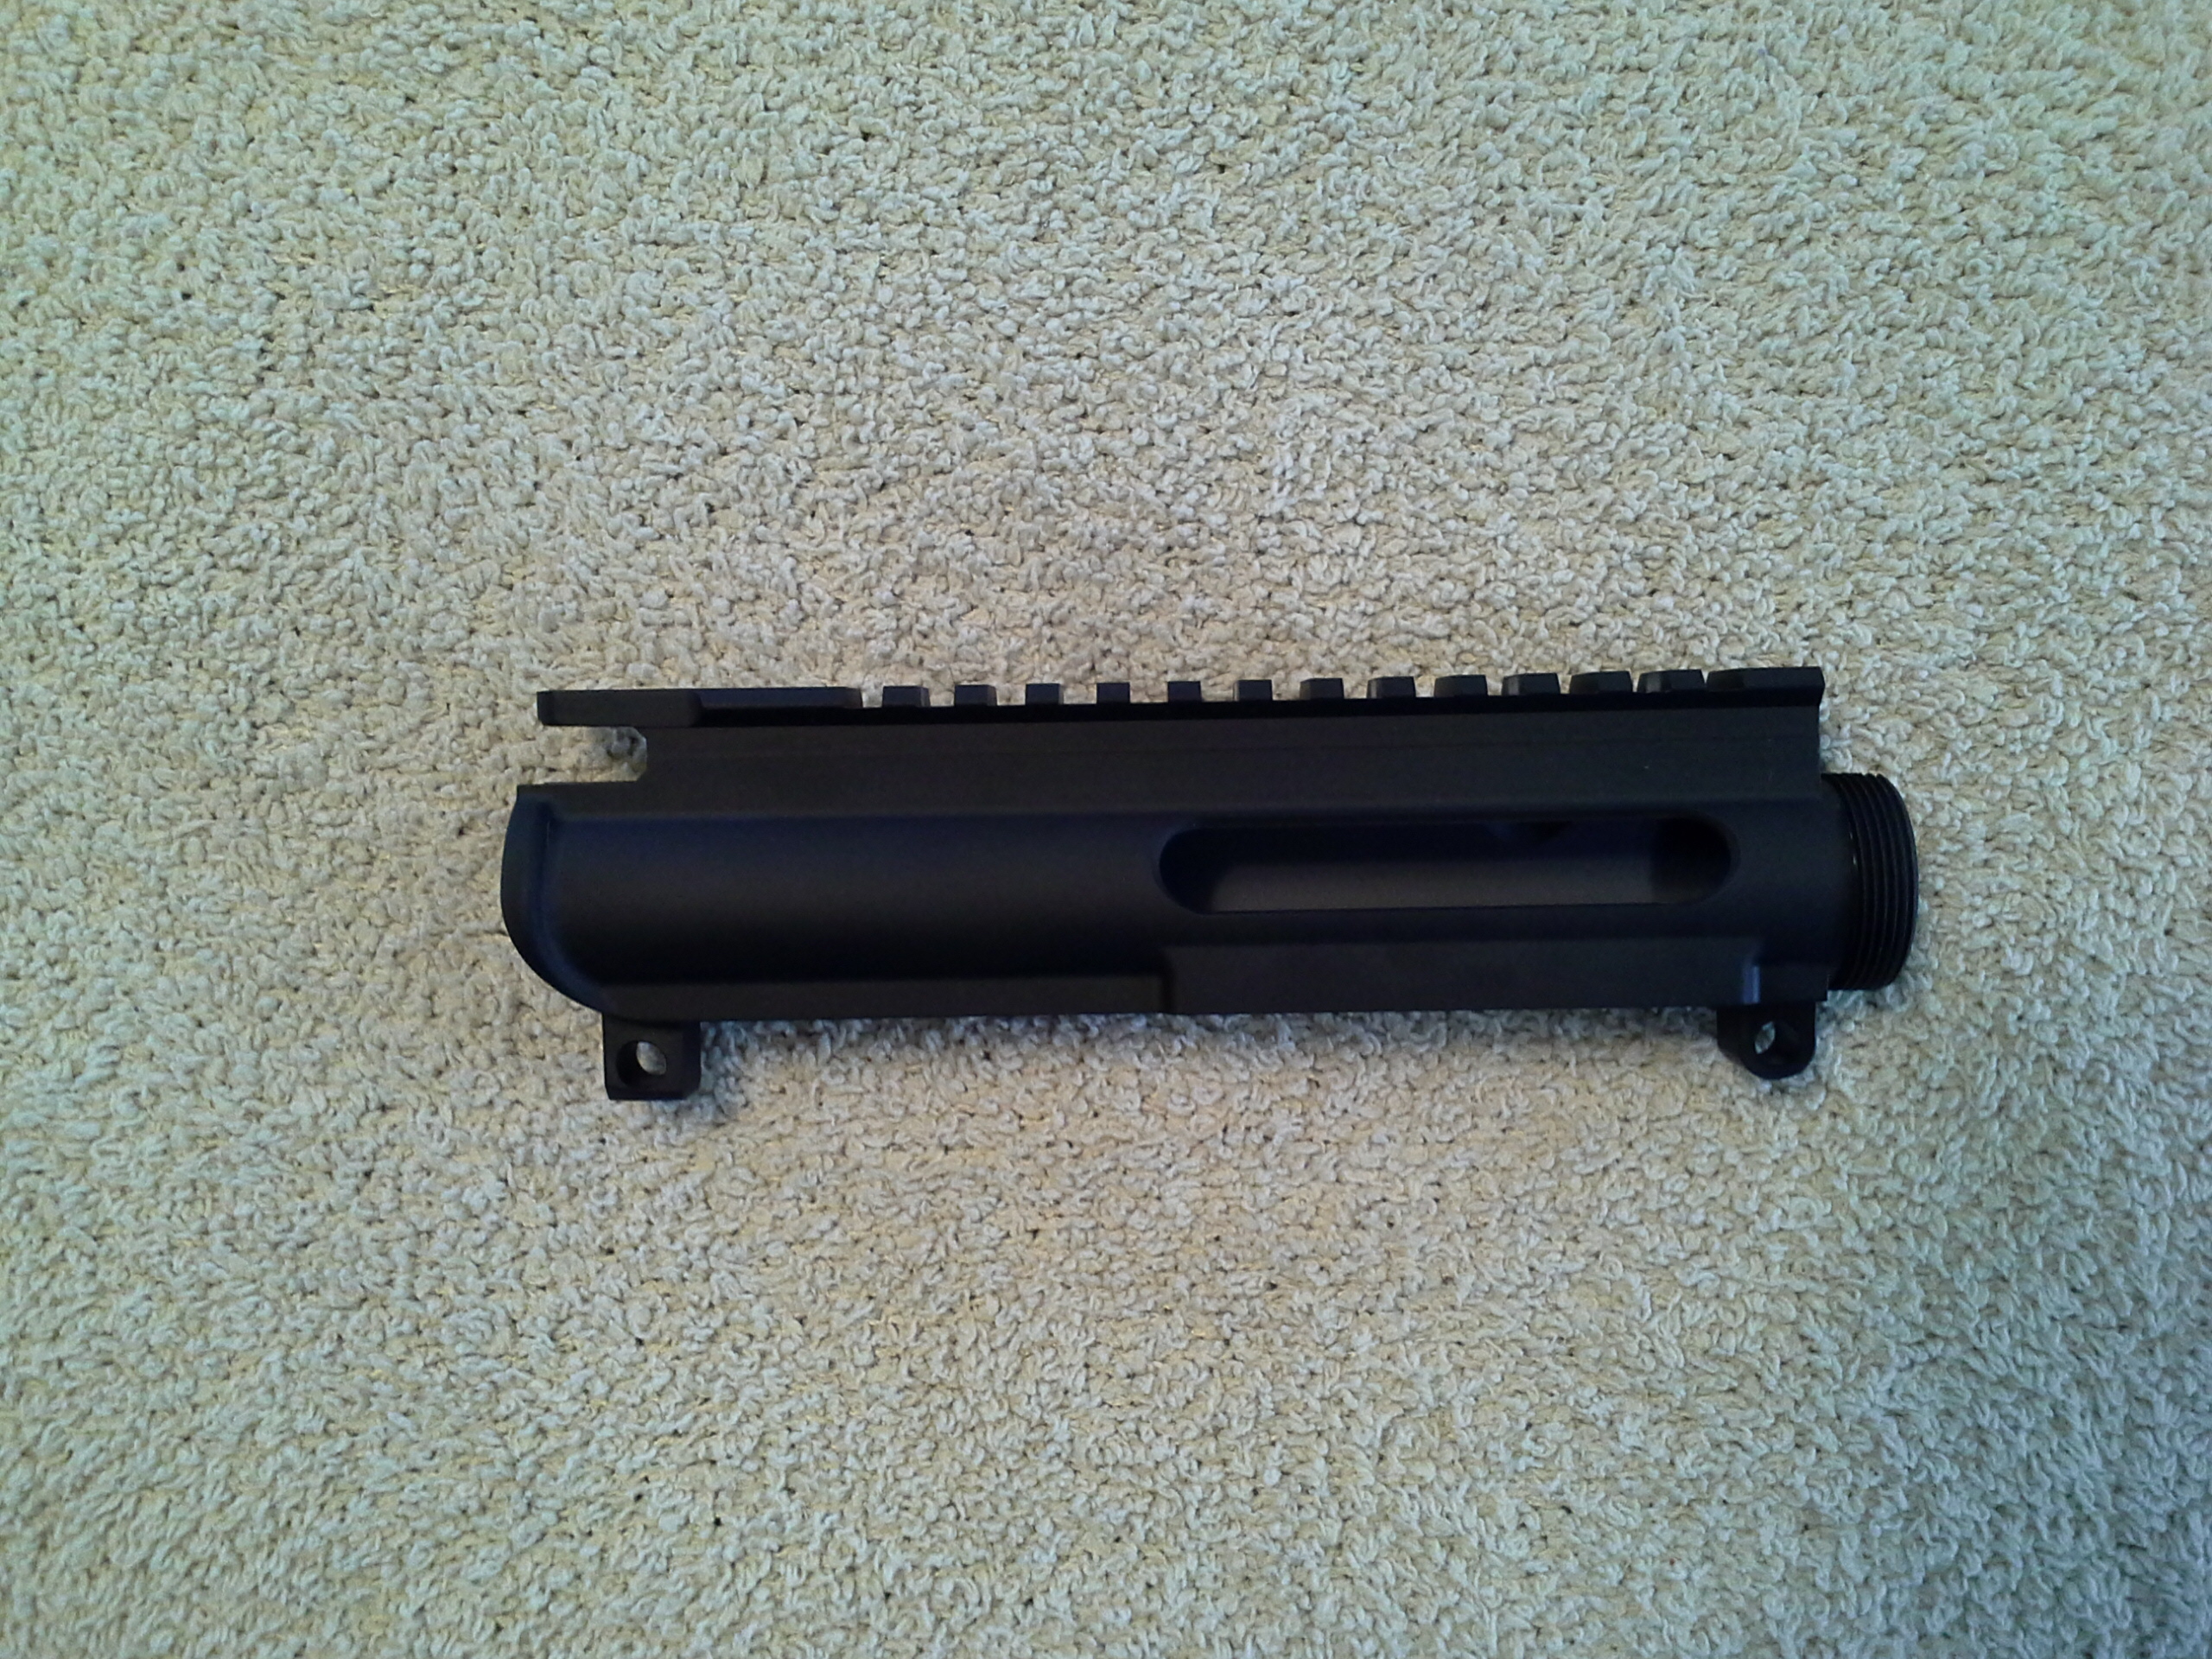
Receiver
It's a run of the mill slab side flat top upper. There is obviously no need for an ejection port cover or forward assist, so there is no
reason to add the weight. This one is a PSA blem that I picked up on sale. As with many PSA blem items, I'm still looking for what makes
this classify as a blem.
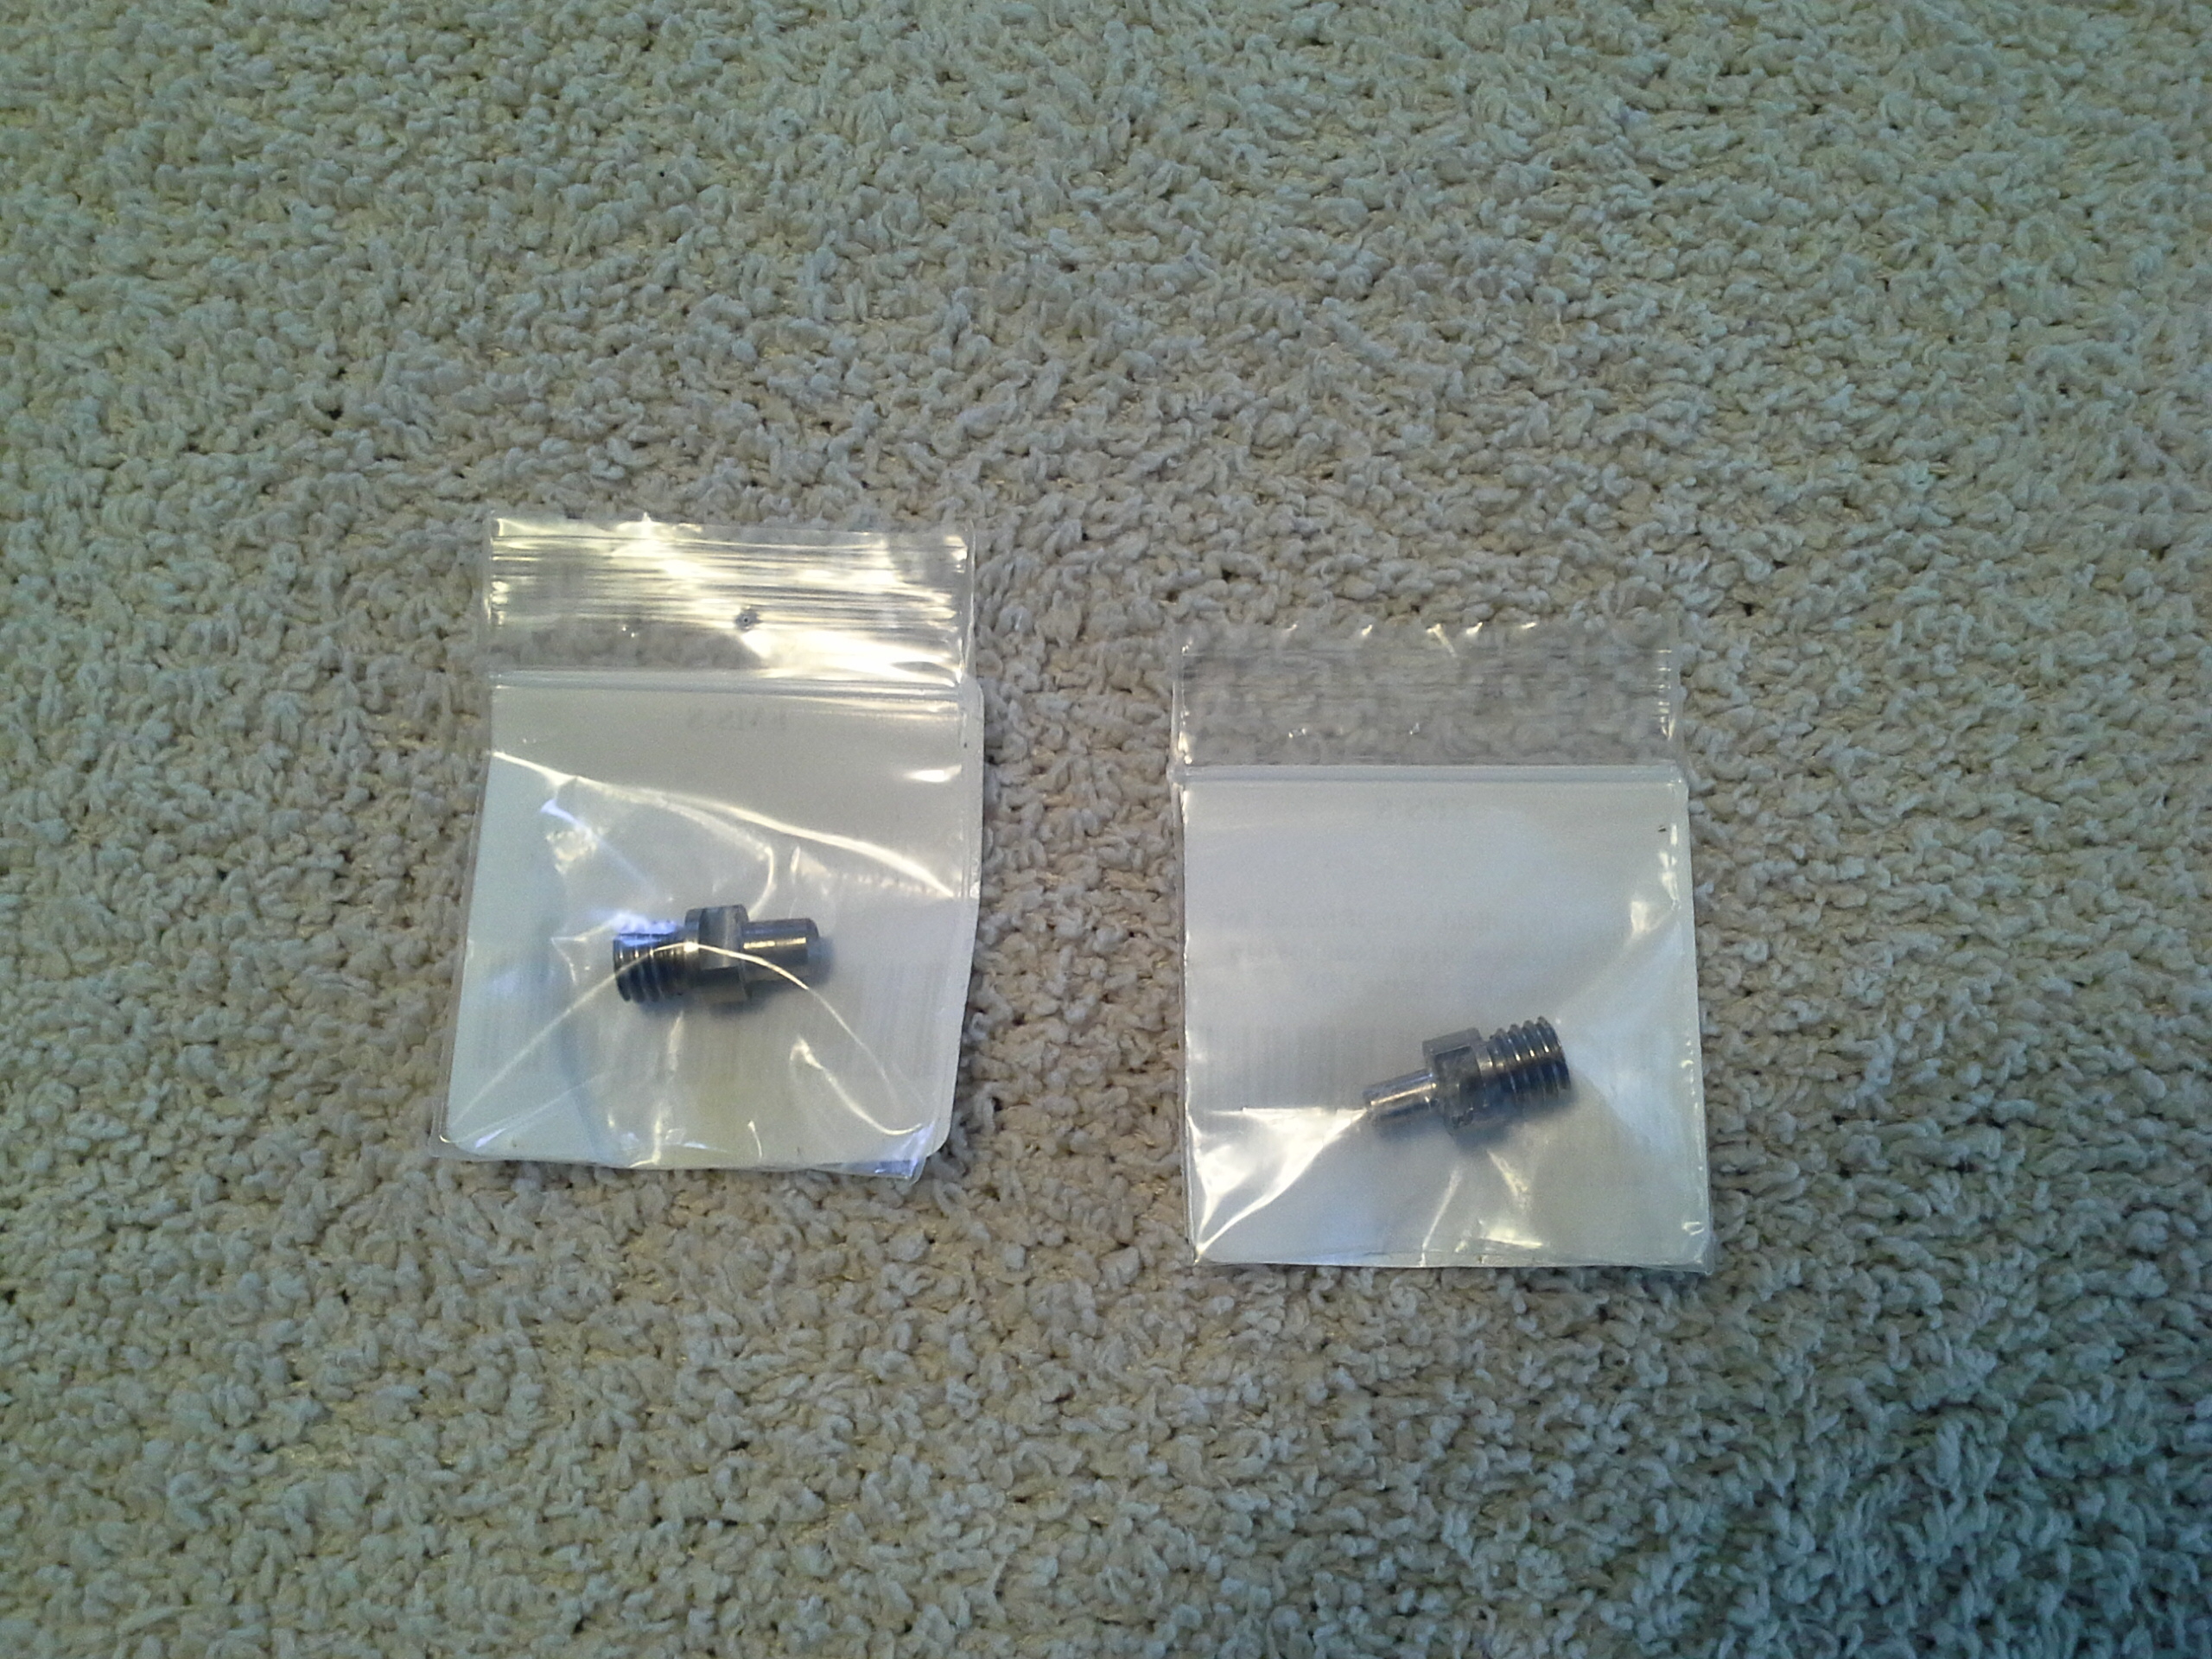
Ignition
Because there is not going to be a firing pin, this build is going to use percussion caps instead of 209 shotshell primers. Out of the
gate, I chose nipples for both #11 caps and musket caps. I don't know how much fire will be needed to get things moving, so I bought
both. Both have the same dimensions and thread. The only difference is in the percussion cap that each is designed for. Both are
available from Track of the Wolf. Part number information is listed at the bottom of this article.
UPDATE
Both the musket and the #11 percussion cap work fine.
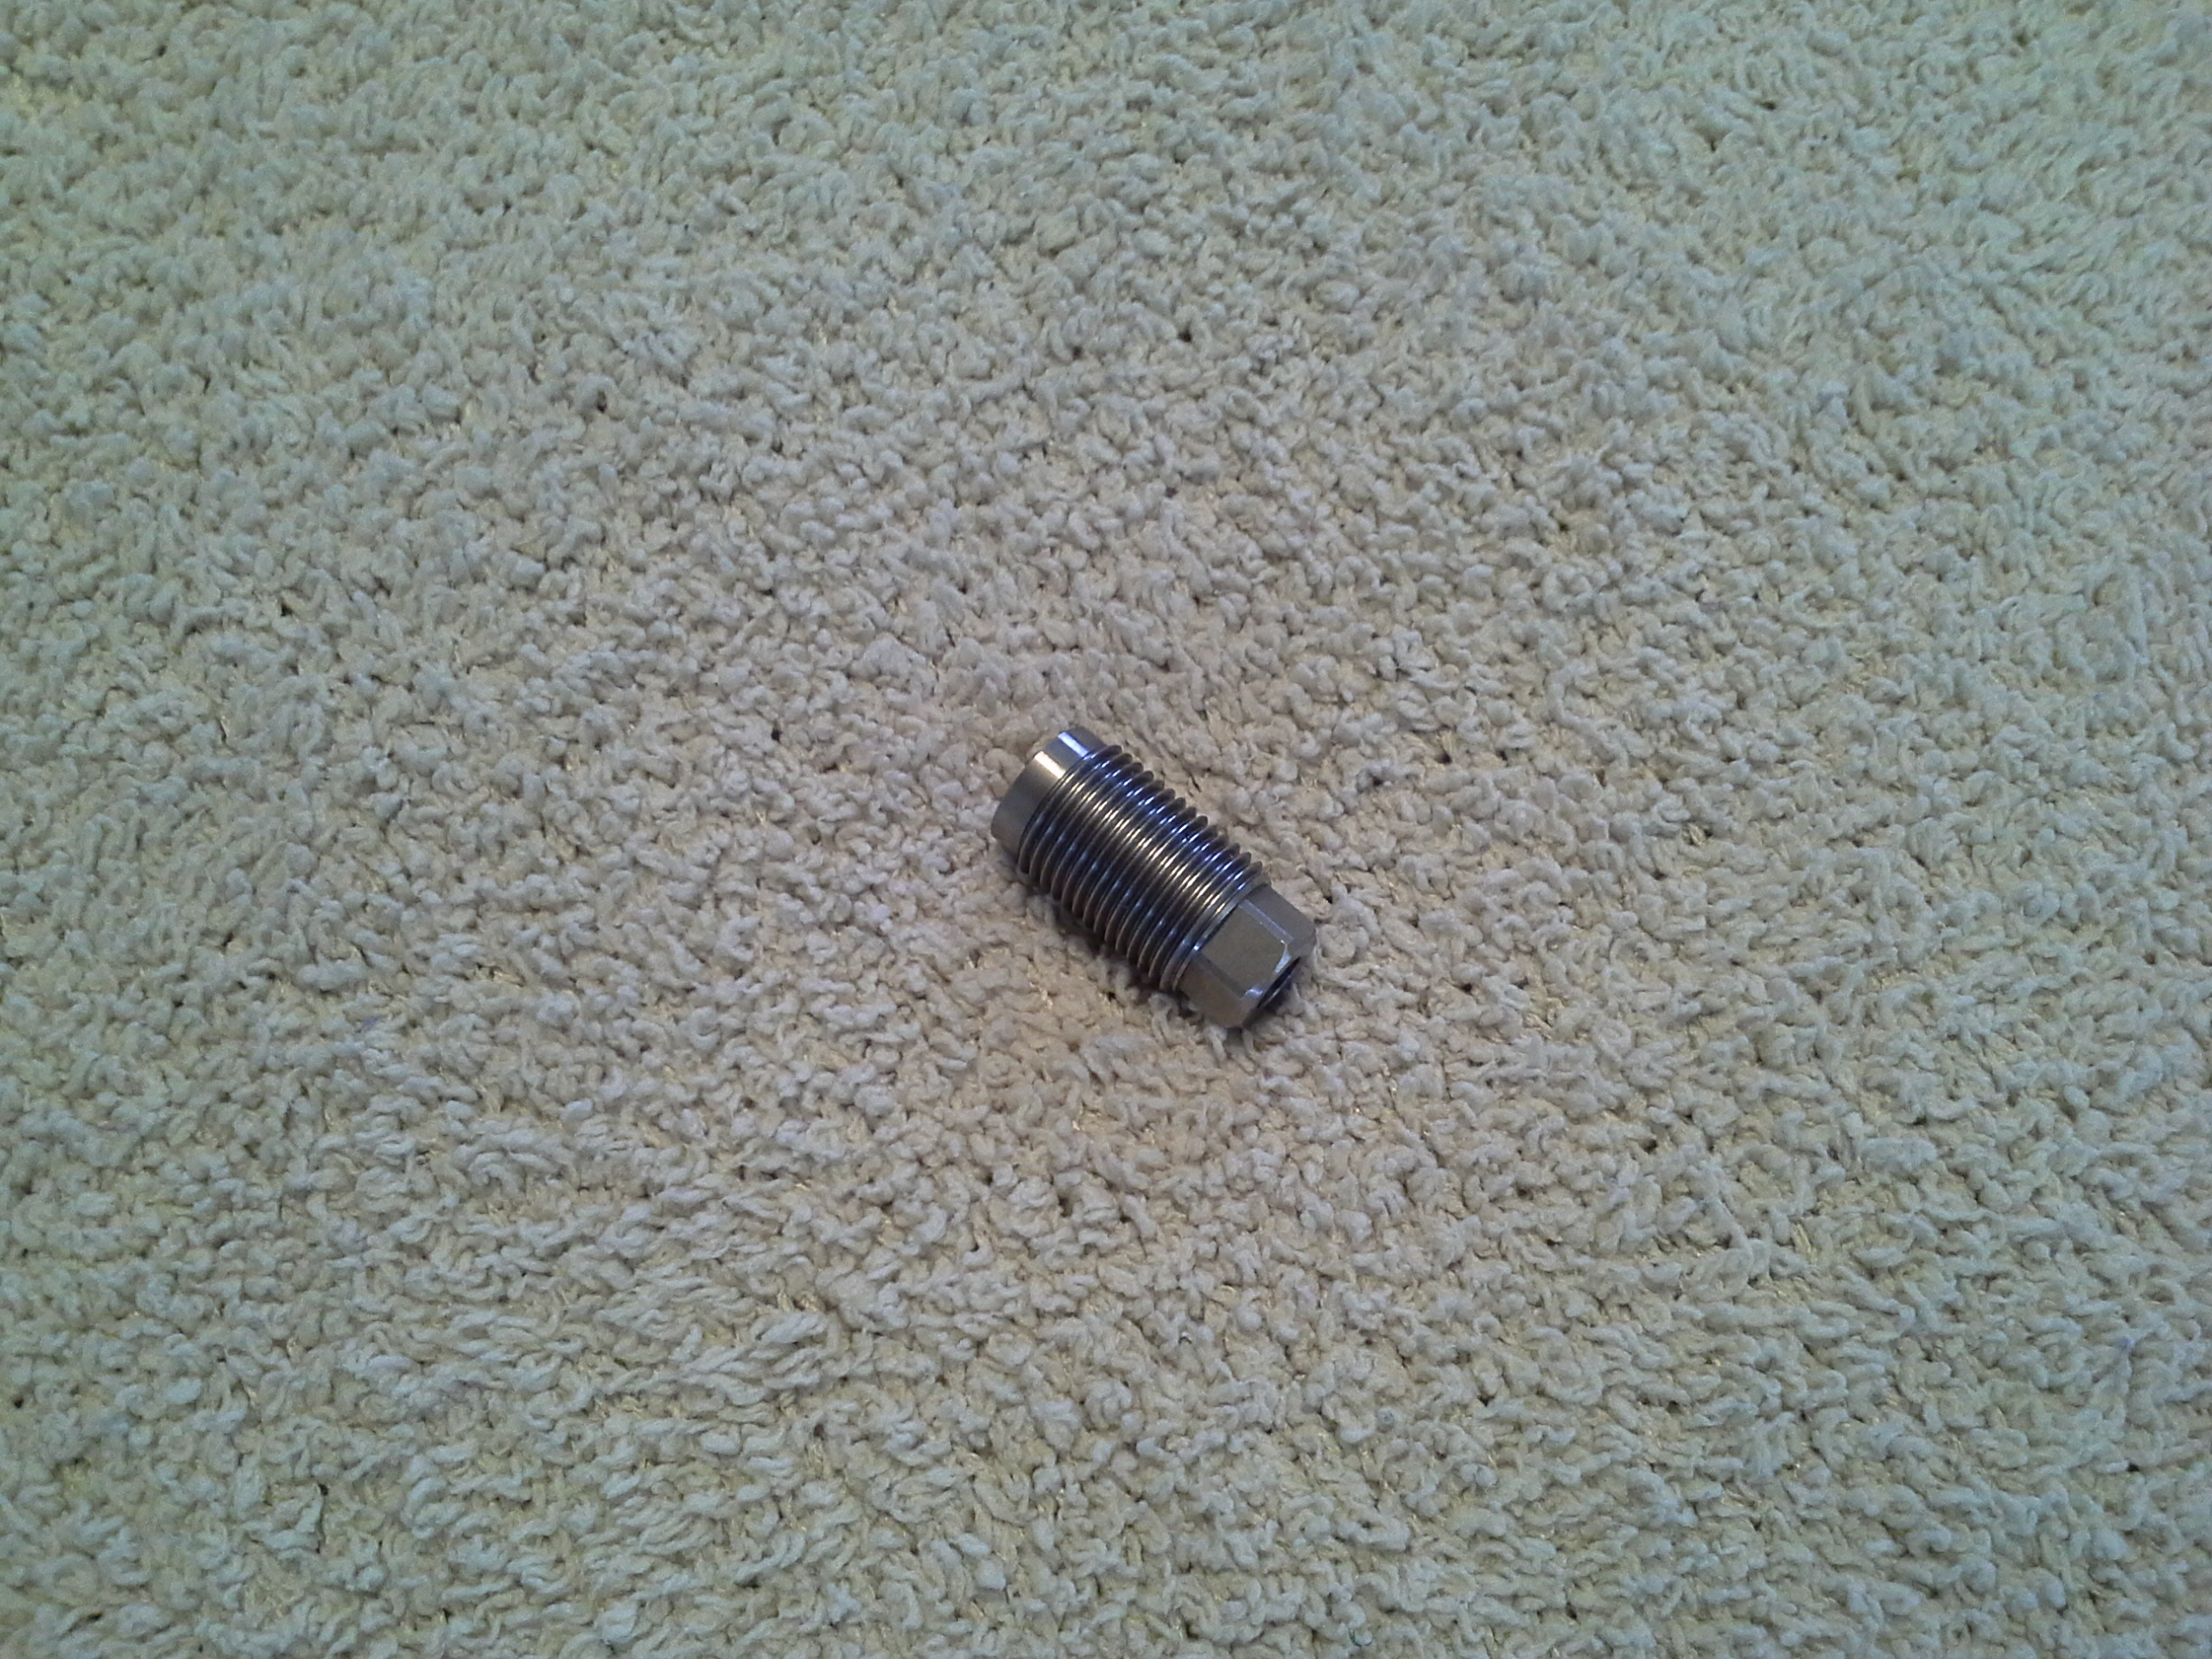
There is no reason to reinvent the wheel. The chosen breech plug is from CVA and was slightly re-worked for this application. It was
designed for a 209 inline so it had a 0.230" hole at one end, and a small flash hole at the other. The 0.230" hole was opened up and
tapped to 5/16-18 to accept the nipples. The flash hole was drilled out to 3/32" for more reliable ignition.
Barrel
I hate that we live in this world, but unfortunately....
This design is based on observations that I have made of commercially offered muzzleloading rifles. Build this at your
own risk. I have no access to high-tech testing equipment, so I can't offer any insight as to what is going on inside the barrel
beyond simply saying that the powder is burning and the gasses produced by this ignition are forcing a projectile through the
barrel toward the muzzle. Could it be perfectly safe? Yes. Could it be right on the edge of going Ka-Boom? Sure.
Consider yourself warned.
Now, back to the show.
The barrel discussion is based on the dimensions in the
drawing, so we'll start with that.
Obviously, no one offers a barrel for a gun like this in their catalog, so I ended up ordering a blank. There are 2 critical dimensions
to this design - one of which does dictate the barrel blank.
The first critical dimension of the barrel blank is the O.D. If you are going to make one of these for yourself, you need to get a barrel
with an O.D. of at least 1.2". The caliber, twist rate, barrel material, and overall length are totally up to you. The barrel for this project
was ordered from Green Mountain Barrel Company. The only barrel they offer in my chosen caliber with the necessary O.D. is in stainless steel.
The only other dimension that is critical is the 3.926" dimension at the left side of the drawing. This is the distance between the hammer
and the face of the "barrel extension" which mates to the receiver. If it is too long, the hammer will hit the edge of the percussion cap,
not the face. If it is too short, the hammer will slam into the bolt hold open or lower receiver and not hit the percussion cap at all. This
dimension is not necessarily carved in stone and may need to be taylored to the dimensions of your specific components. I would assume
that if you're taking on a project like this, you know what you're doing.
For this project, I chose a 50 caliber barrel (0.500"/0.510") with a 1:28 twist. Wanting as much barrel as possible, I designed the
barrel length to mimmic the profile of what would be a "standard" 20" barrel. The forward portion, plus the portion of the barrel
that is inside the upper receiver, minus the length of the breech plug yeilds a usable barrel length of about 22.30". Not exactly
the 30" to 48" barrel length of a typical black powder rifle, but let's face it; a 30"+ barrel on an AR would look just plain stupid.
I didn't take a picture of the barrel blank. It was a 25" long piece of 1.2" O.D. stainless steel bar stock with a funky hole bored through
the middle. There wasn't much to see.
Handguard
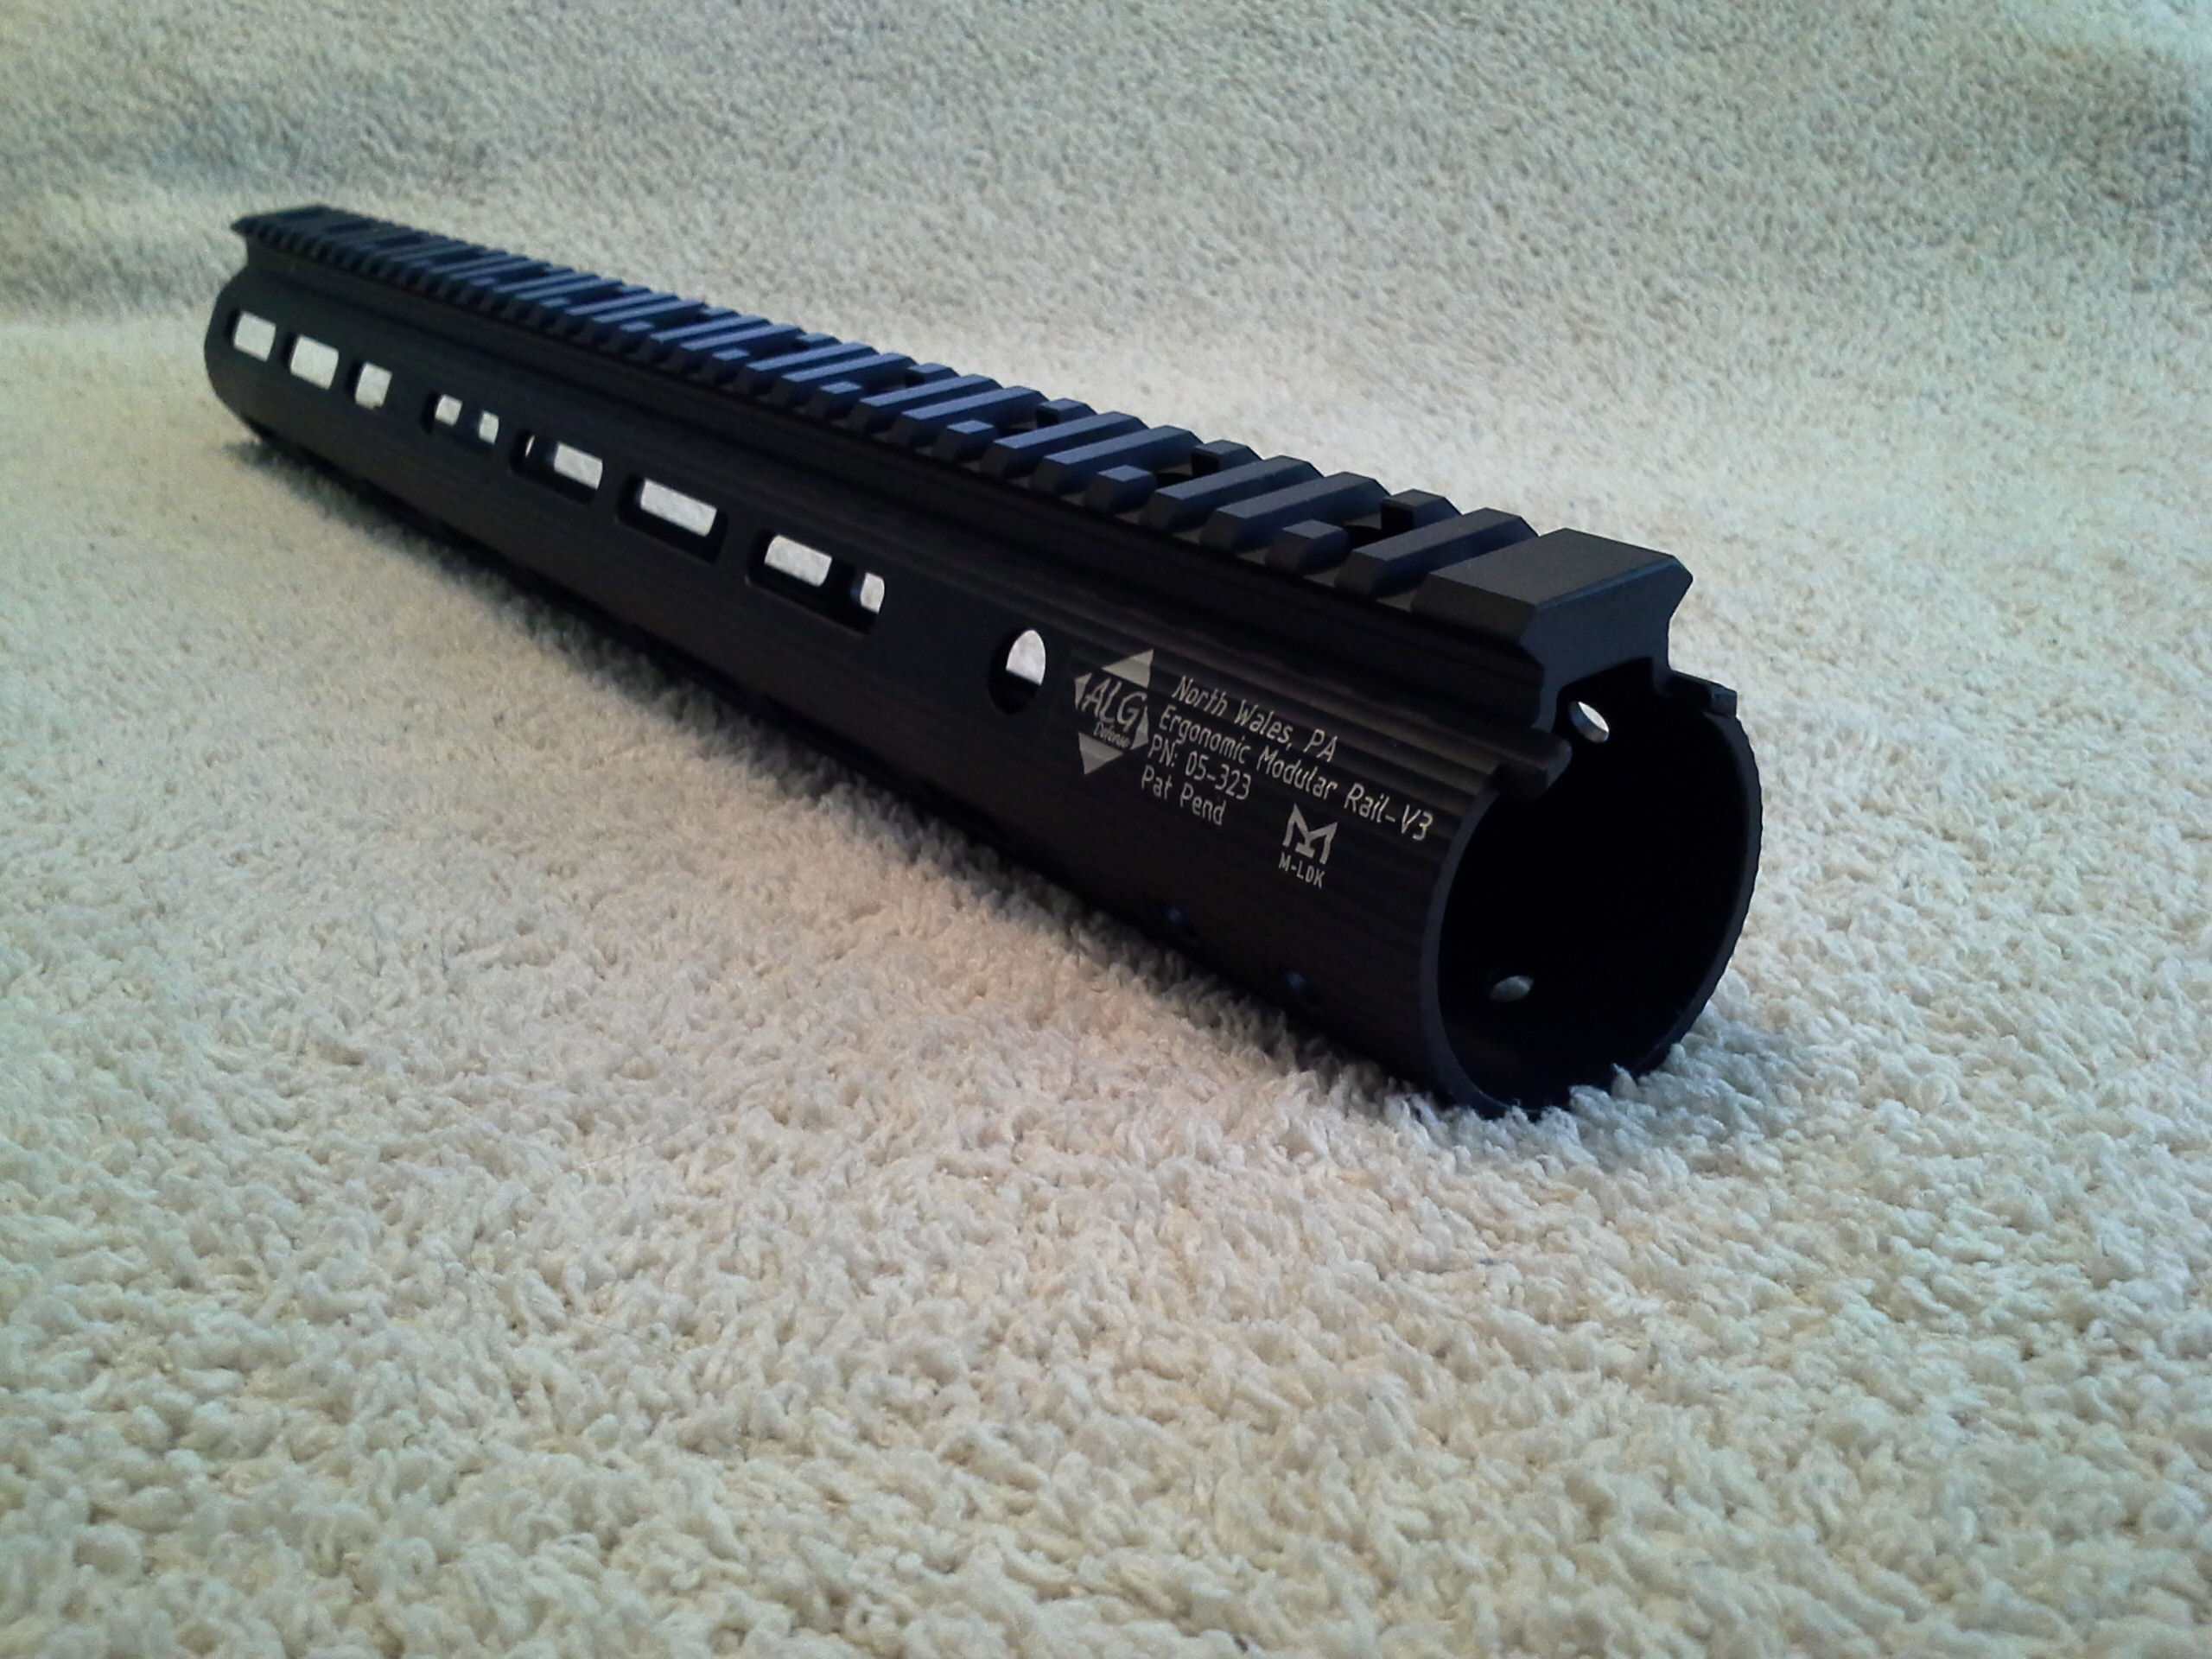
Because of the somewhat non-standard dimensions of the barrel, a free float tube is necessary. I chose an EMR V3 from ALG Defense. I like
my rifles to have a look where the bulk ends and the thinner barrel continues on for a short distance. Because of this, I chose the 15"
version of the handguard. The truth is that a handguard isn't even necessary; there is no gas block to hide and gas tube to protect.
But, it gives me a place to anchor a sling attachment point, mount the front BUIS, and it makes the gun look finished.
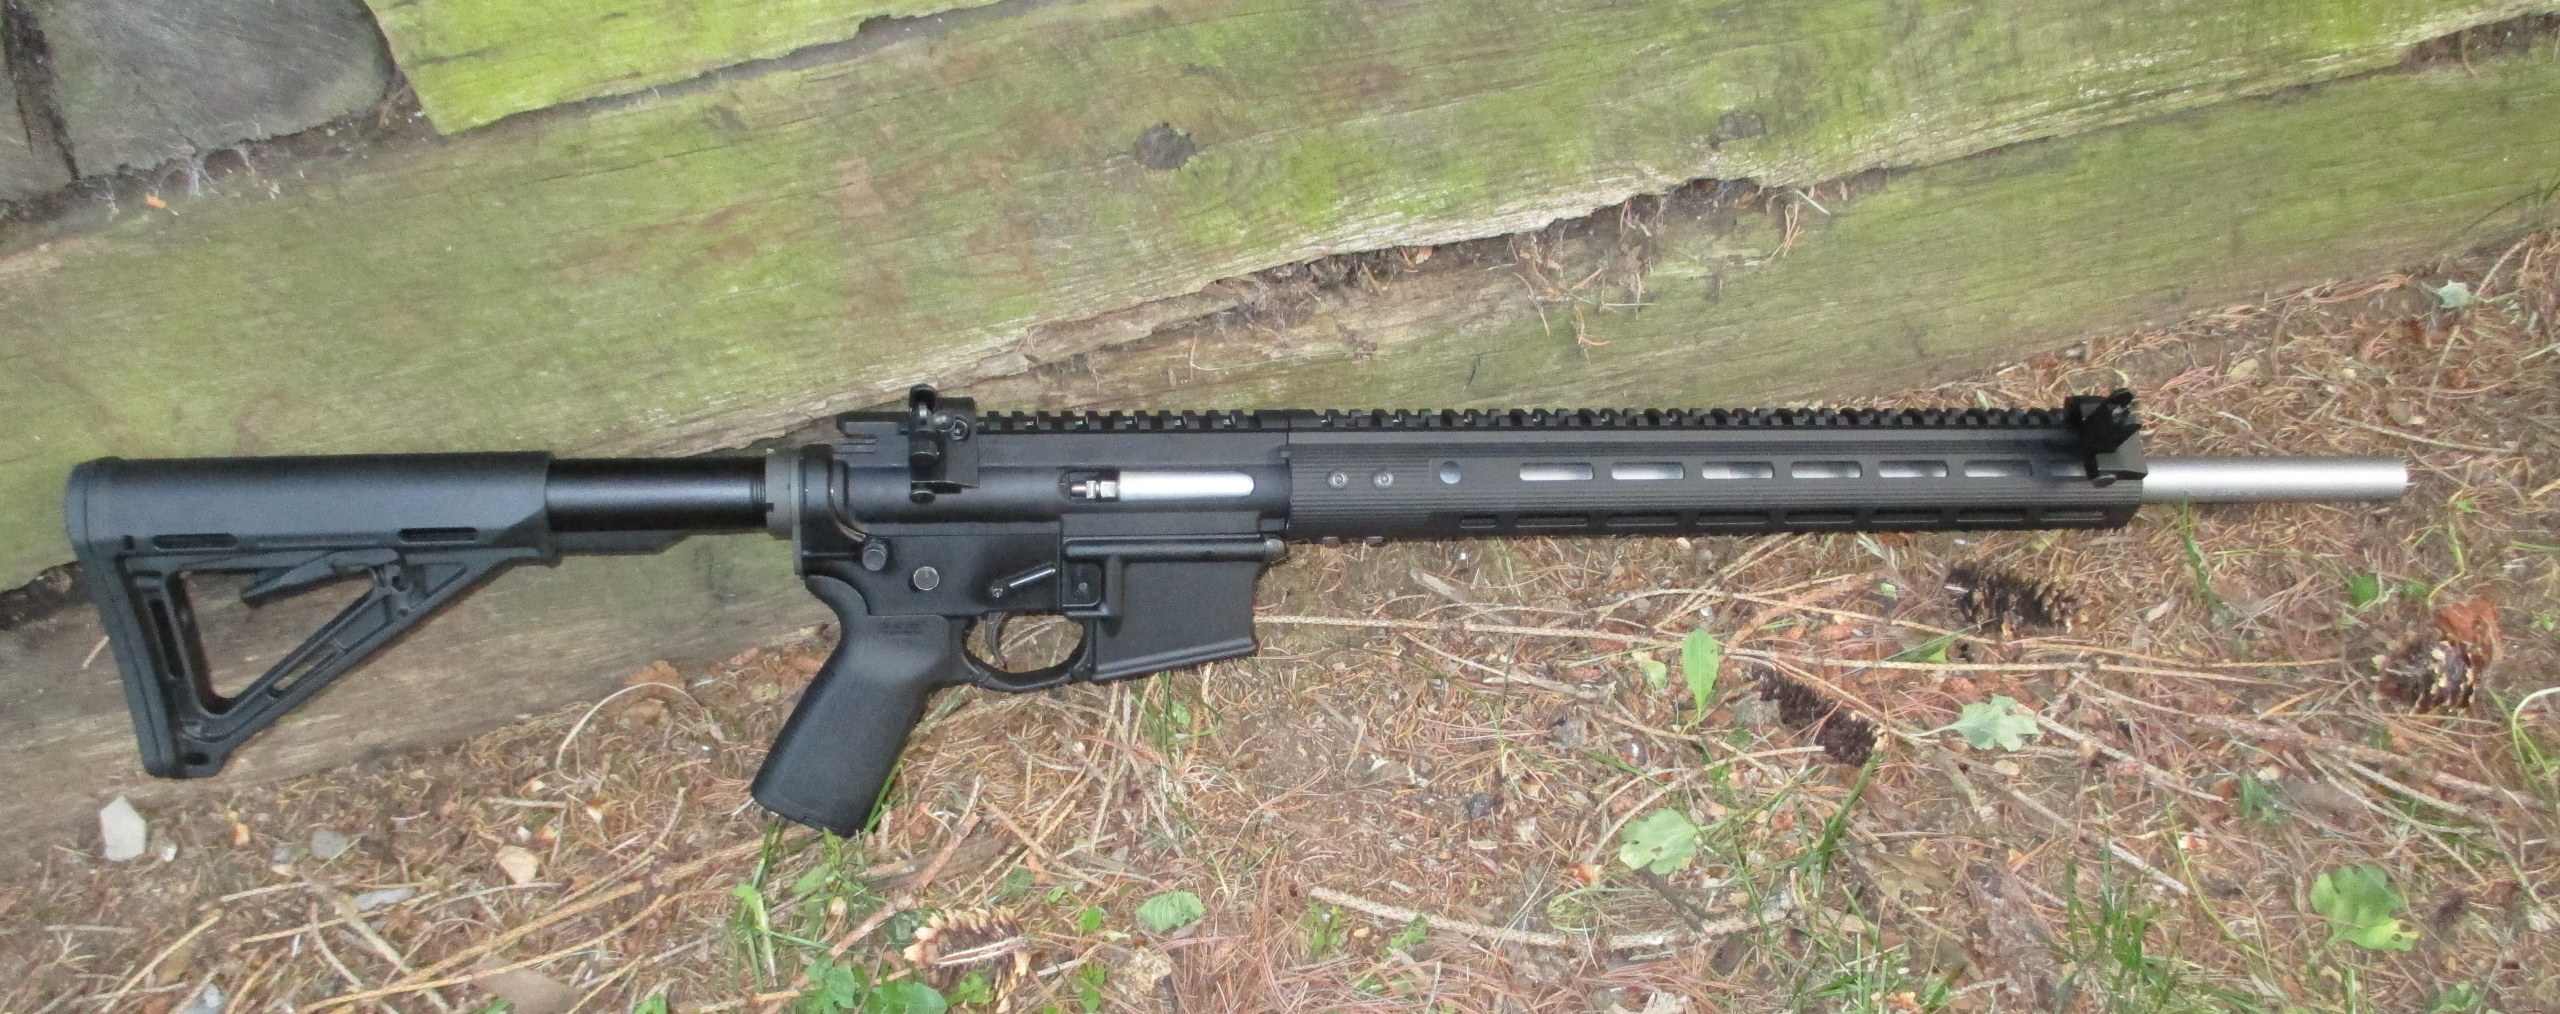
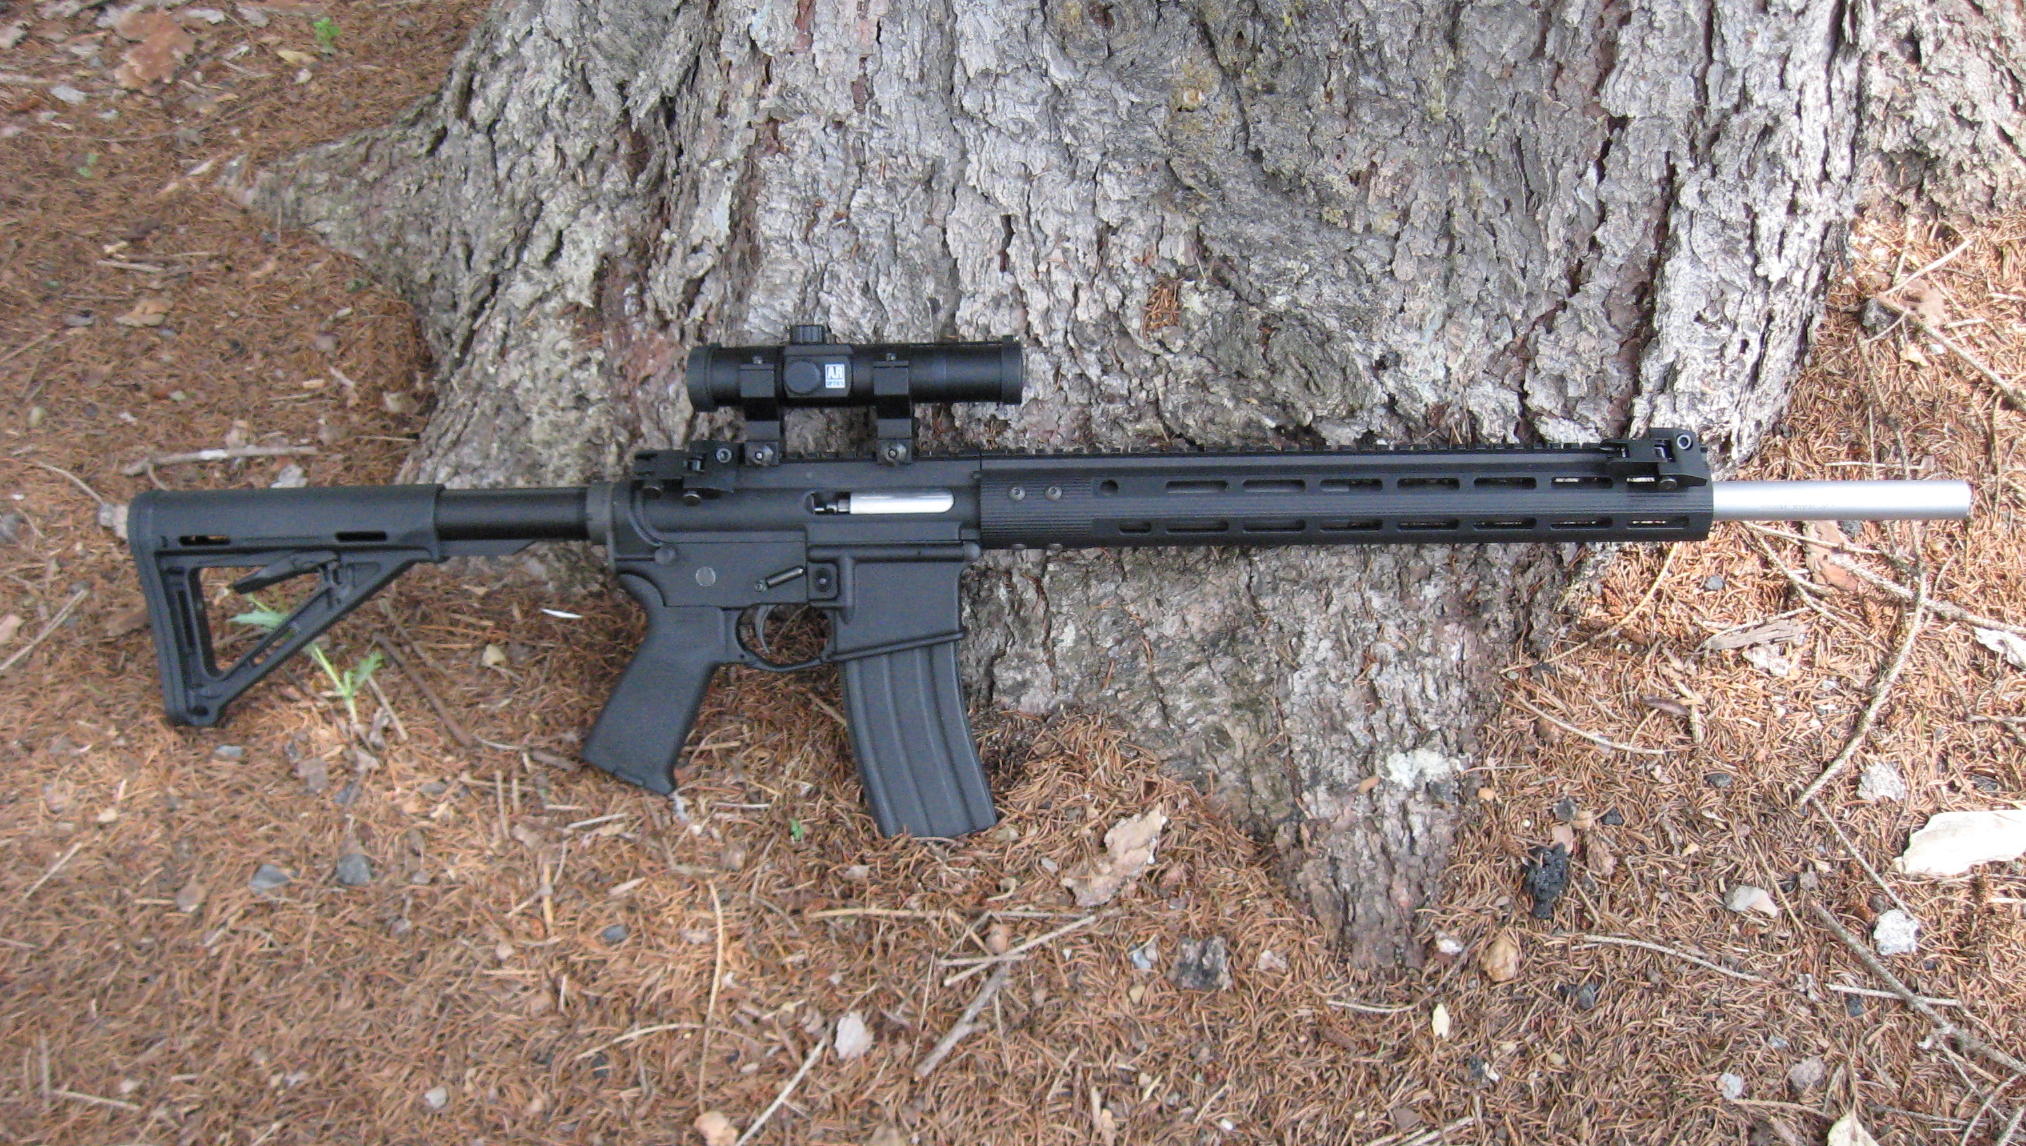
The Finished Product
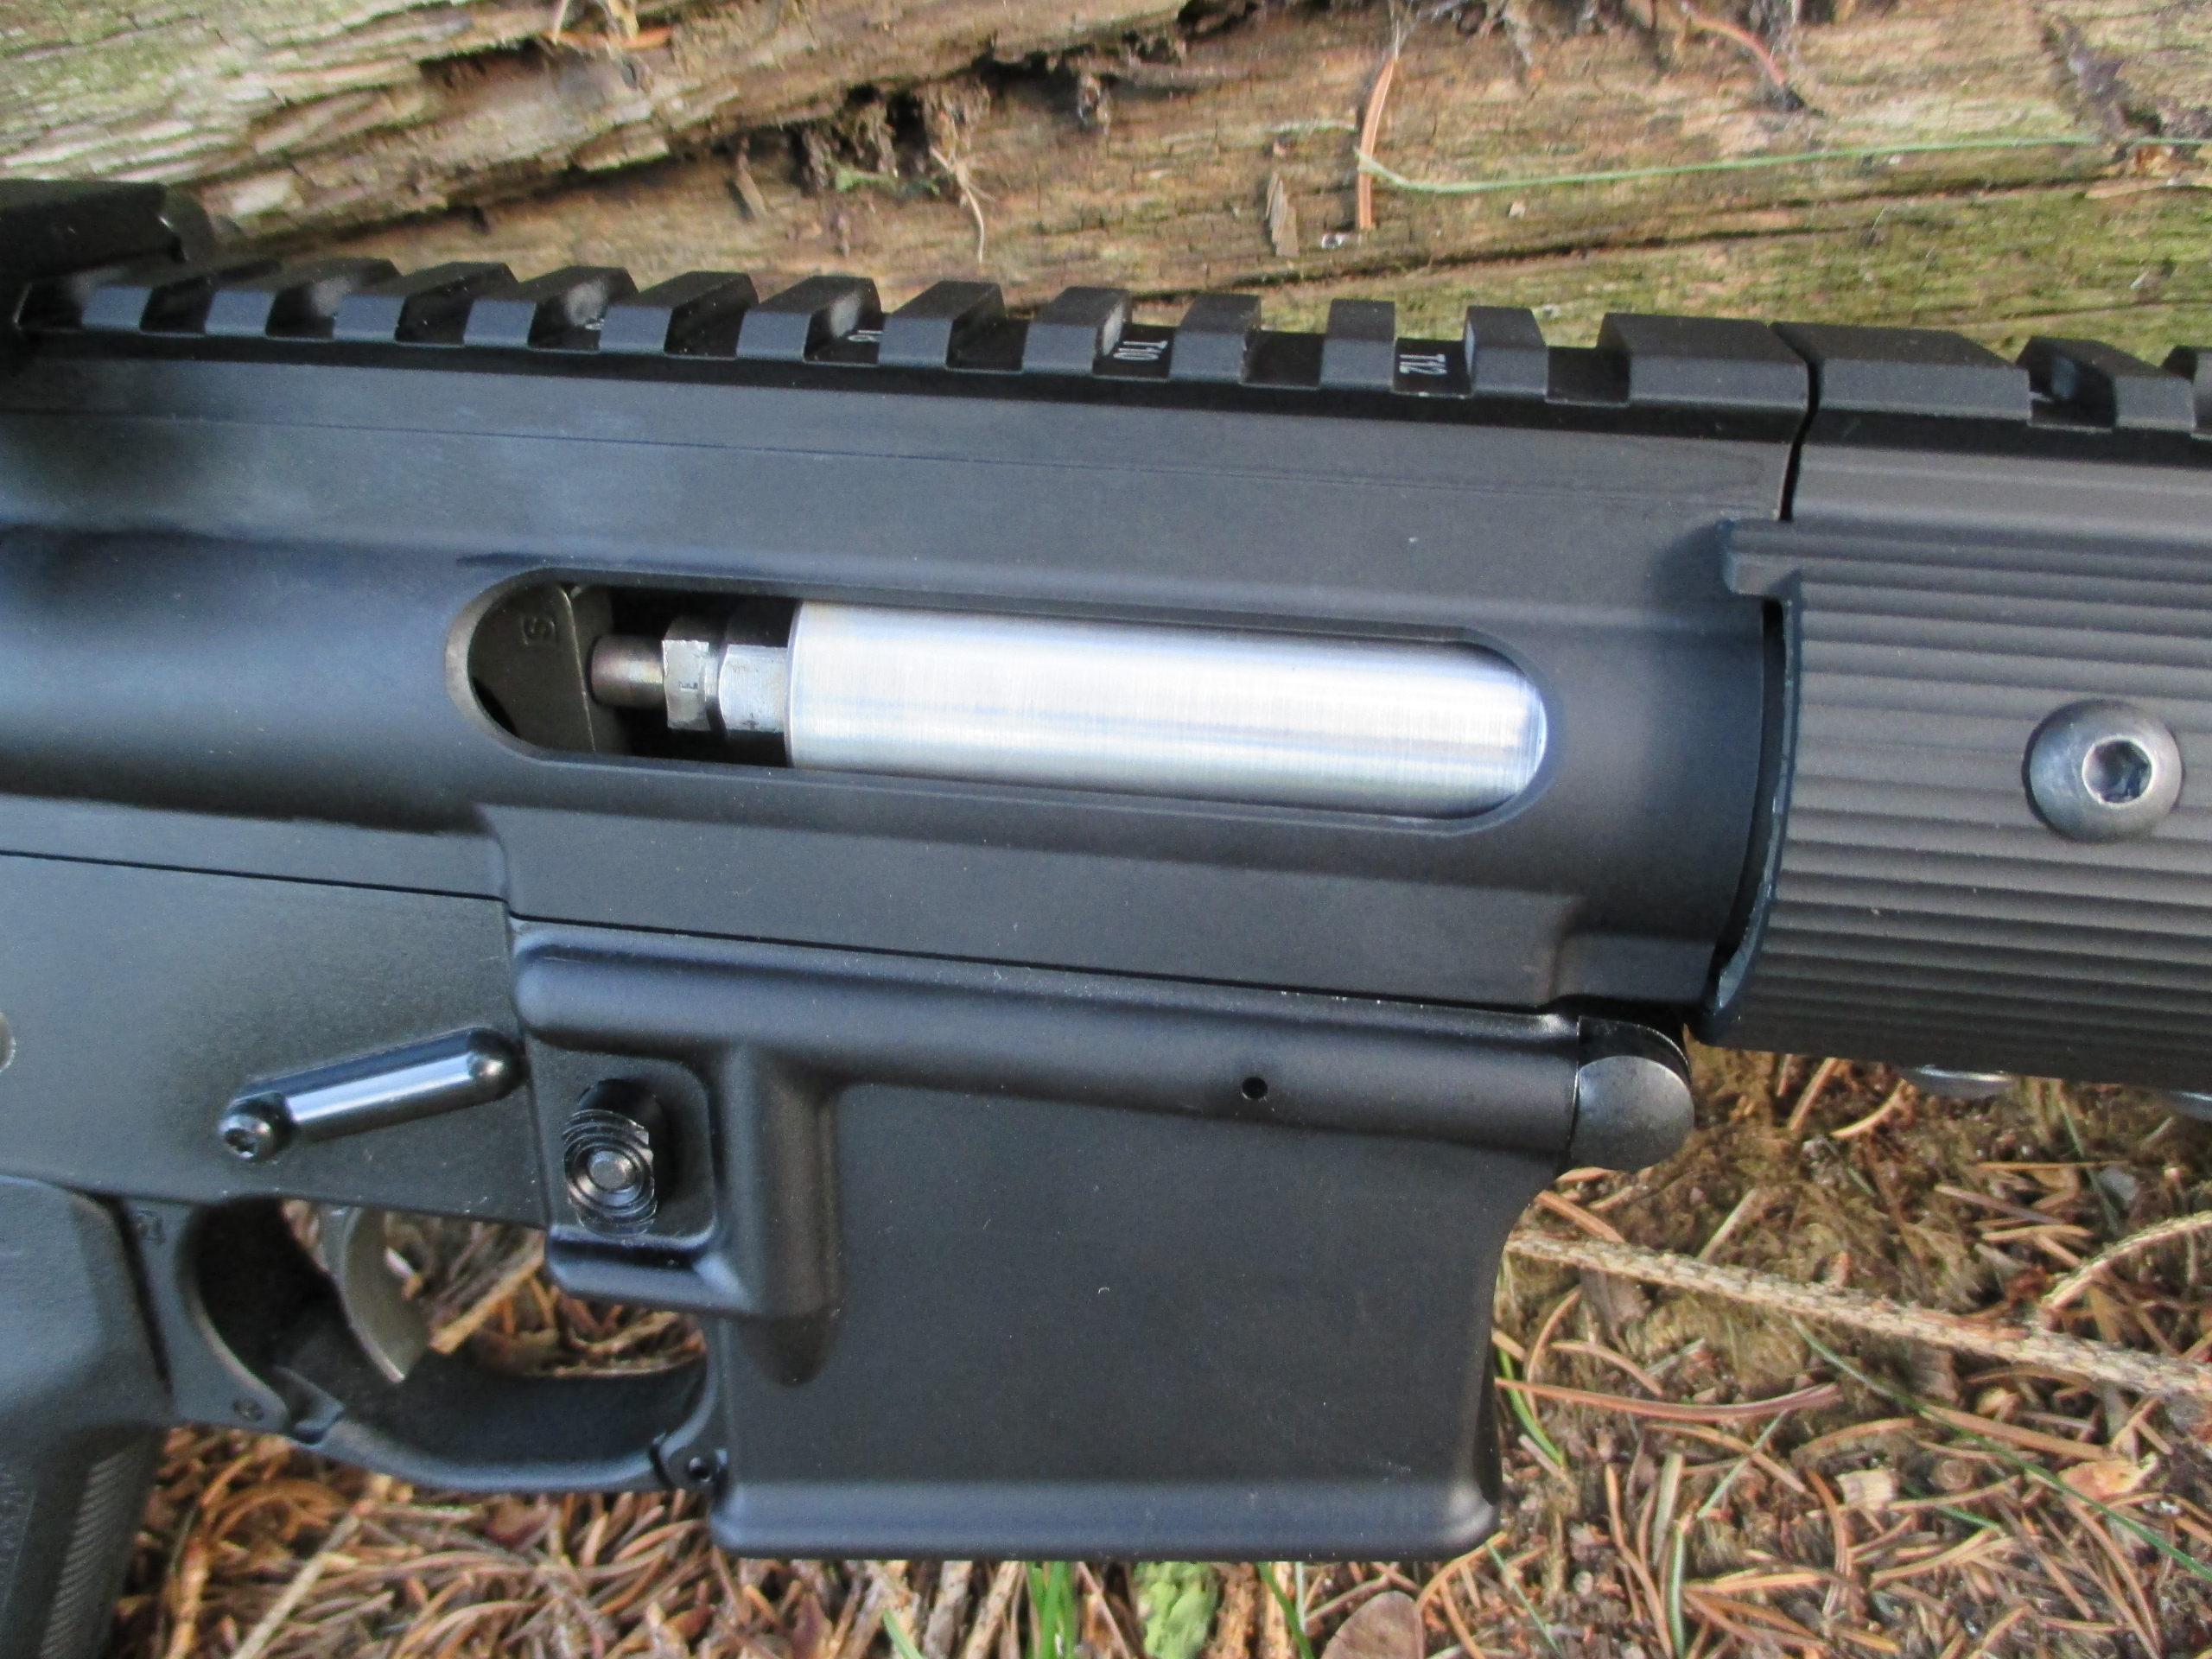
Breech It's obviously a muzzle loader.
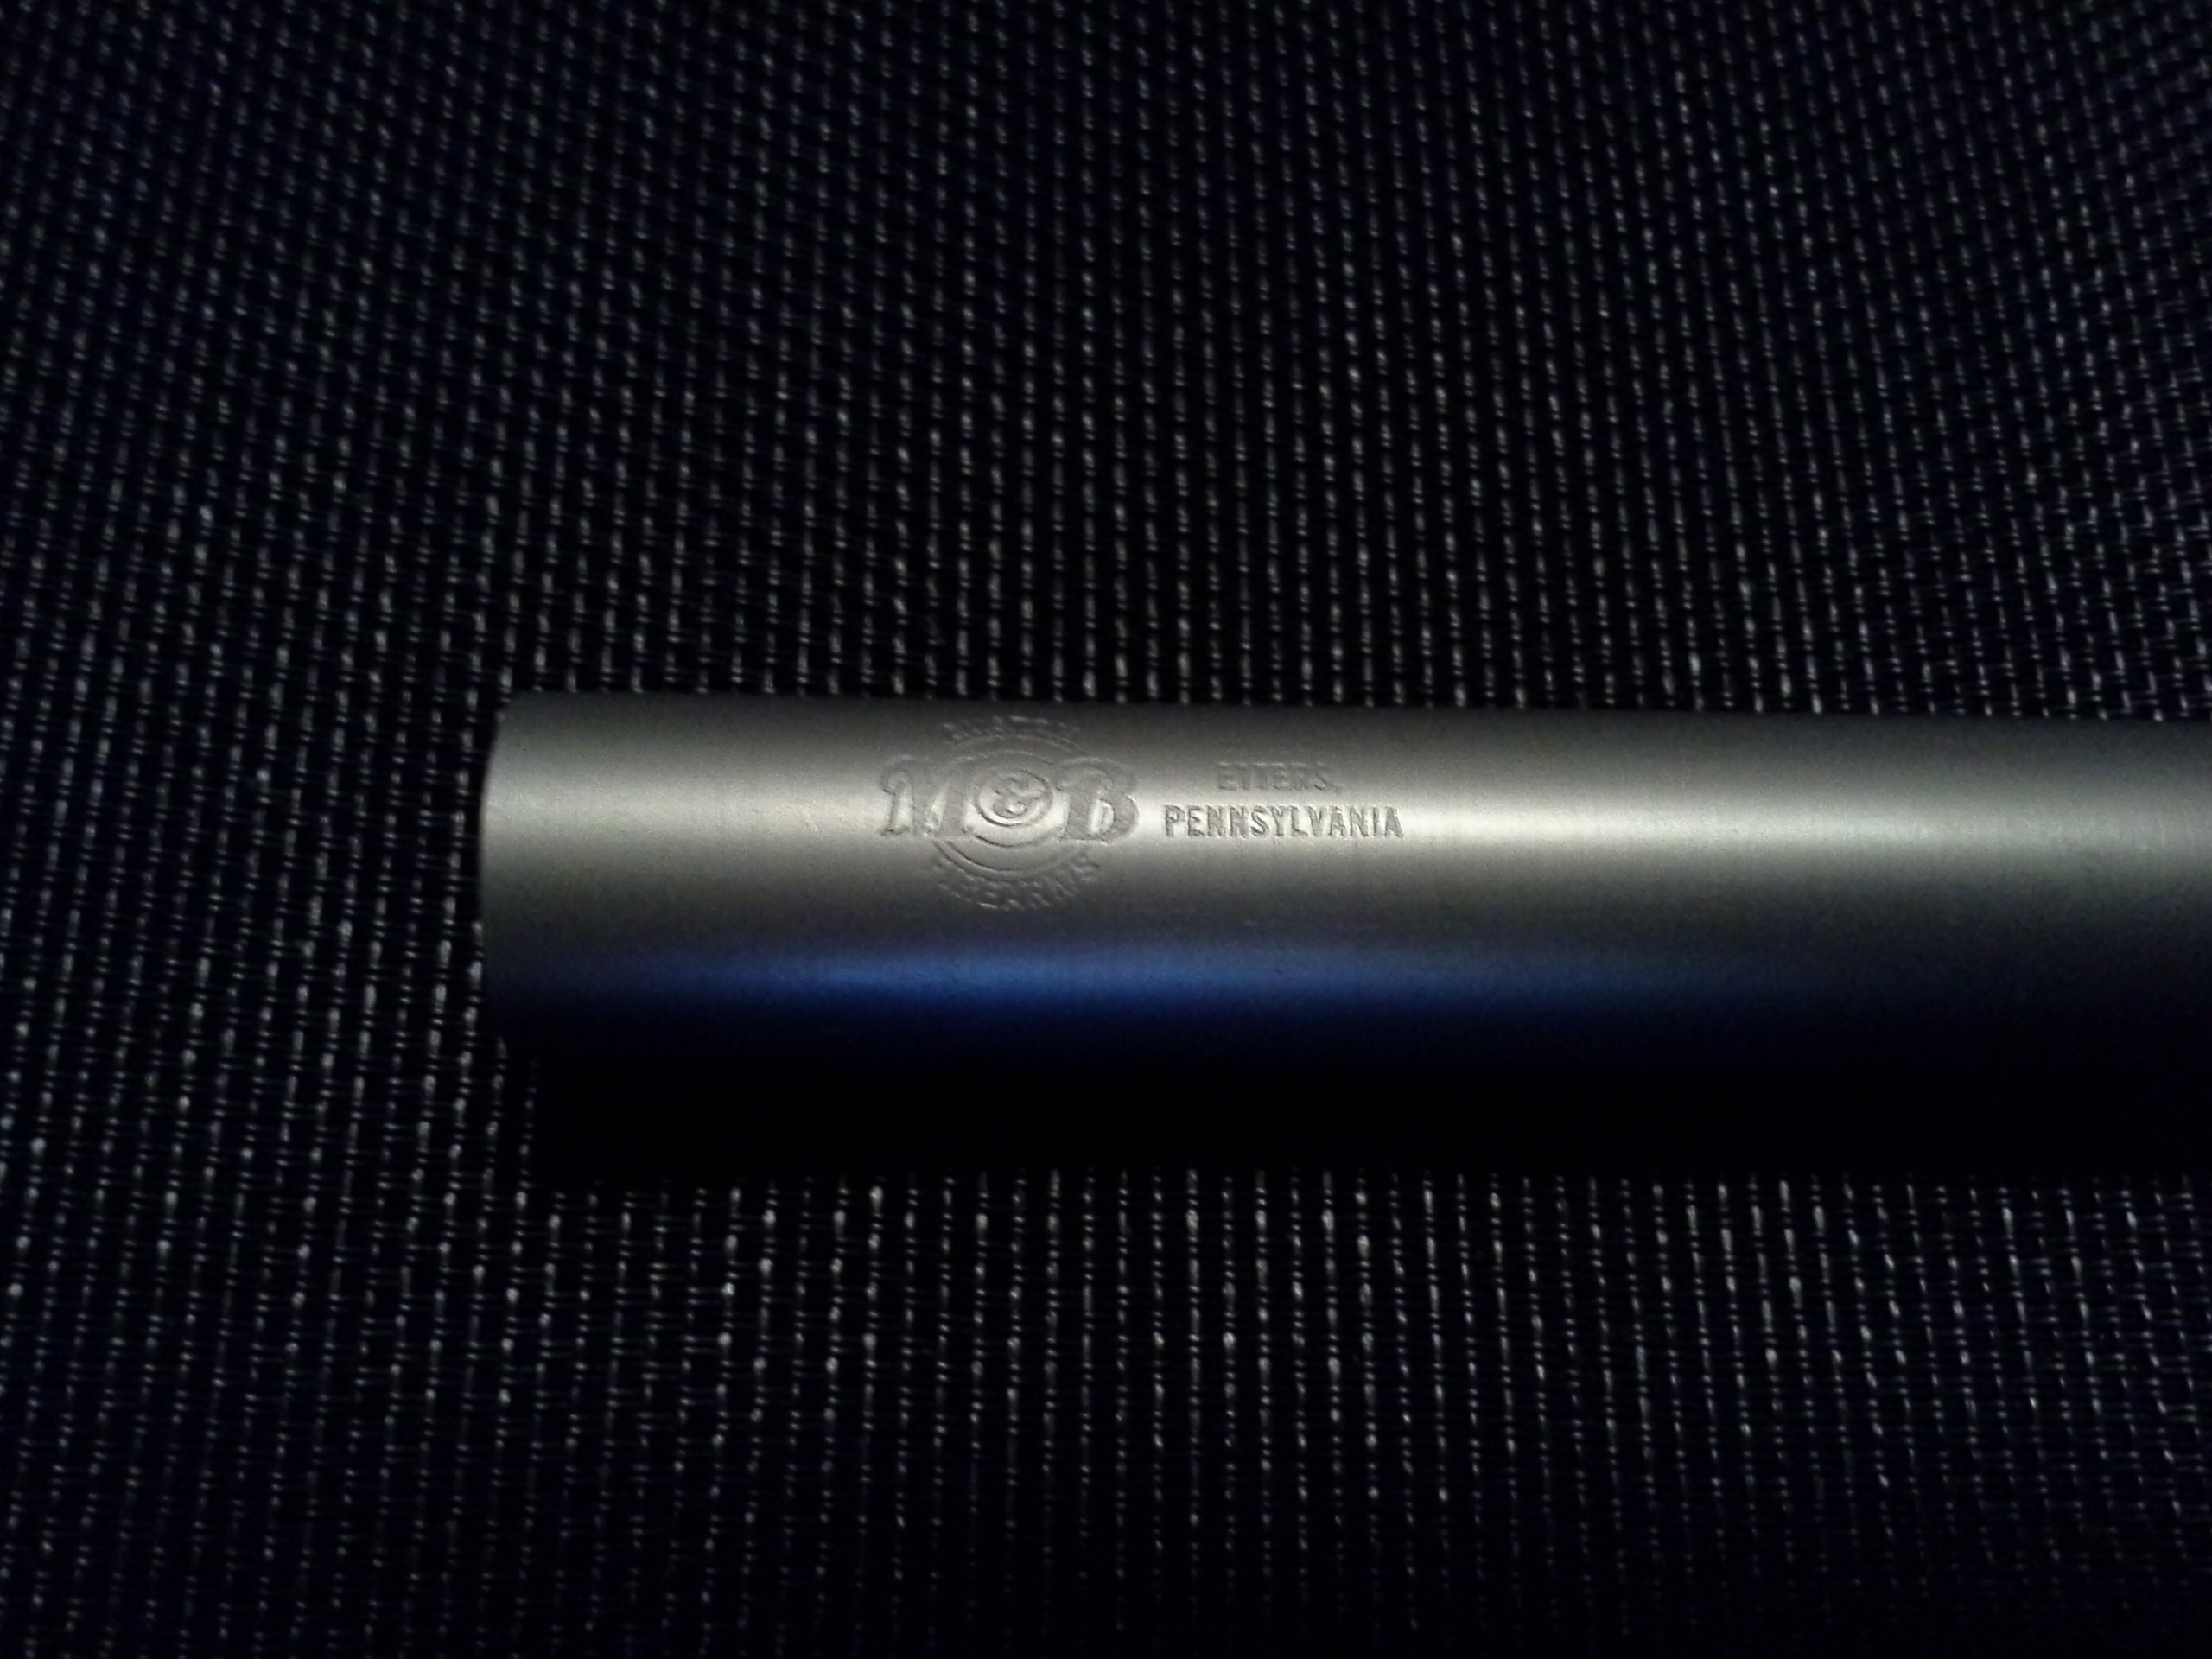
Barrel Markings
Sights/Optics
I installed a Bushnell AR Optics 1x28mm Red Dot scope on the top. I also installed a cheap set of 45° offset flip-up sights.
The red dot will be sighted in for 70 yards. The flip-ups will be sighted in for 35 yards.
Ram Rod
To hold the ram rod, I took an old, beat up magazine, cut off the feed lips, and made a wooden insert to hold the 4-part ram rod (custom made by RMC Ox-Yoke).
Here are the parts:
Here it is empty and before a coat of paint:
And the finished product:
Now that I have a 3D printer, I improved the insert.